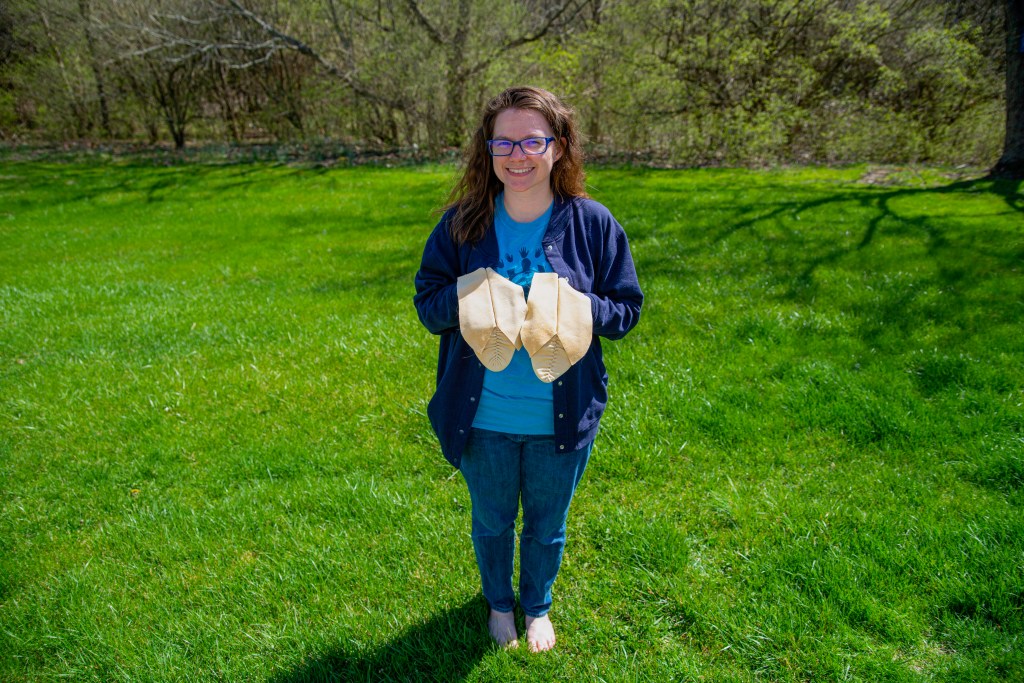
My first mahkisina ‘moccasins’ were given to me by one of my distantly related cousins. Odds are that she also got them as a hand-me-down. I was young enough that I don’t remember much about them because they only fit for a short period of time. Replacing them was never a priority since I did not have many occasions to wear them and nobody in my close family knew how to make them.
In 2019, the Miami Tribe of Oklahoma decided to host a Rock Your Mocs event during National Gathering Week. For those who don’t know, Rock your Mocs is a week-long social media event in November where people are encouraged to wear their moccasins as a way to celebrate their Native identities. You can learn more on the Rock Your Mocs website.

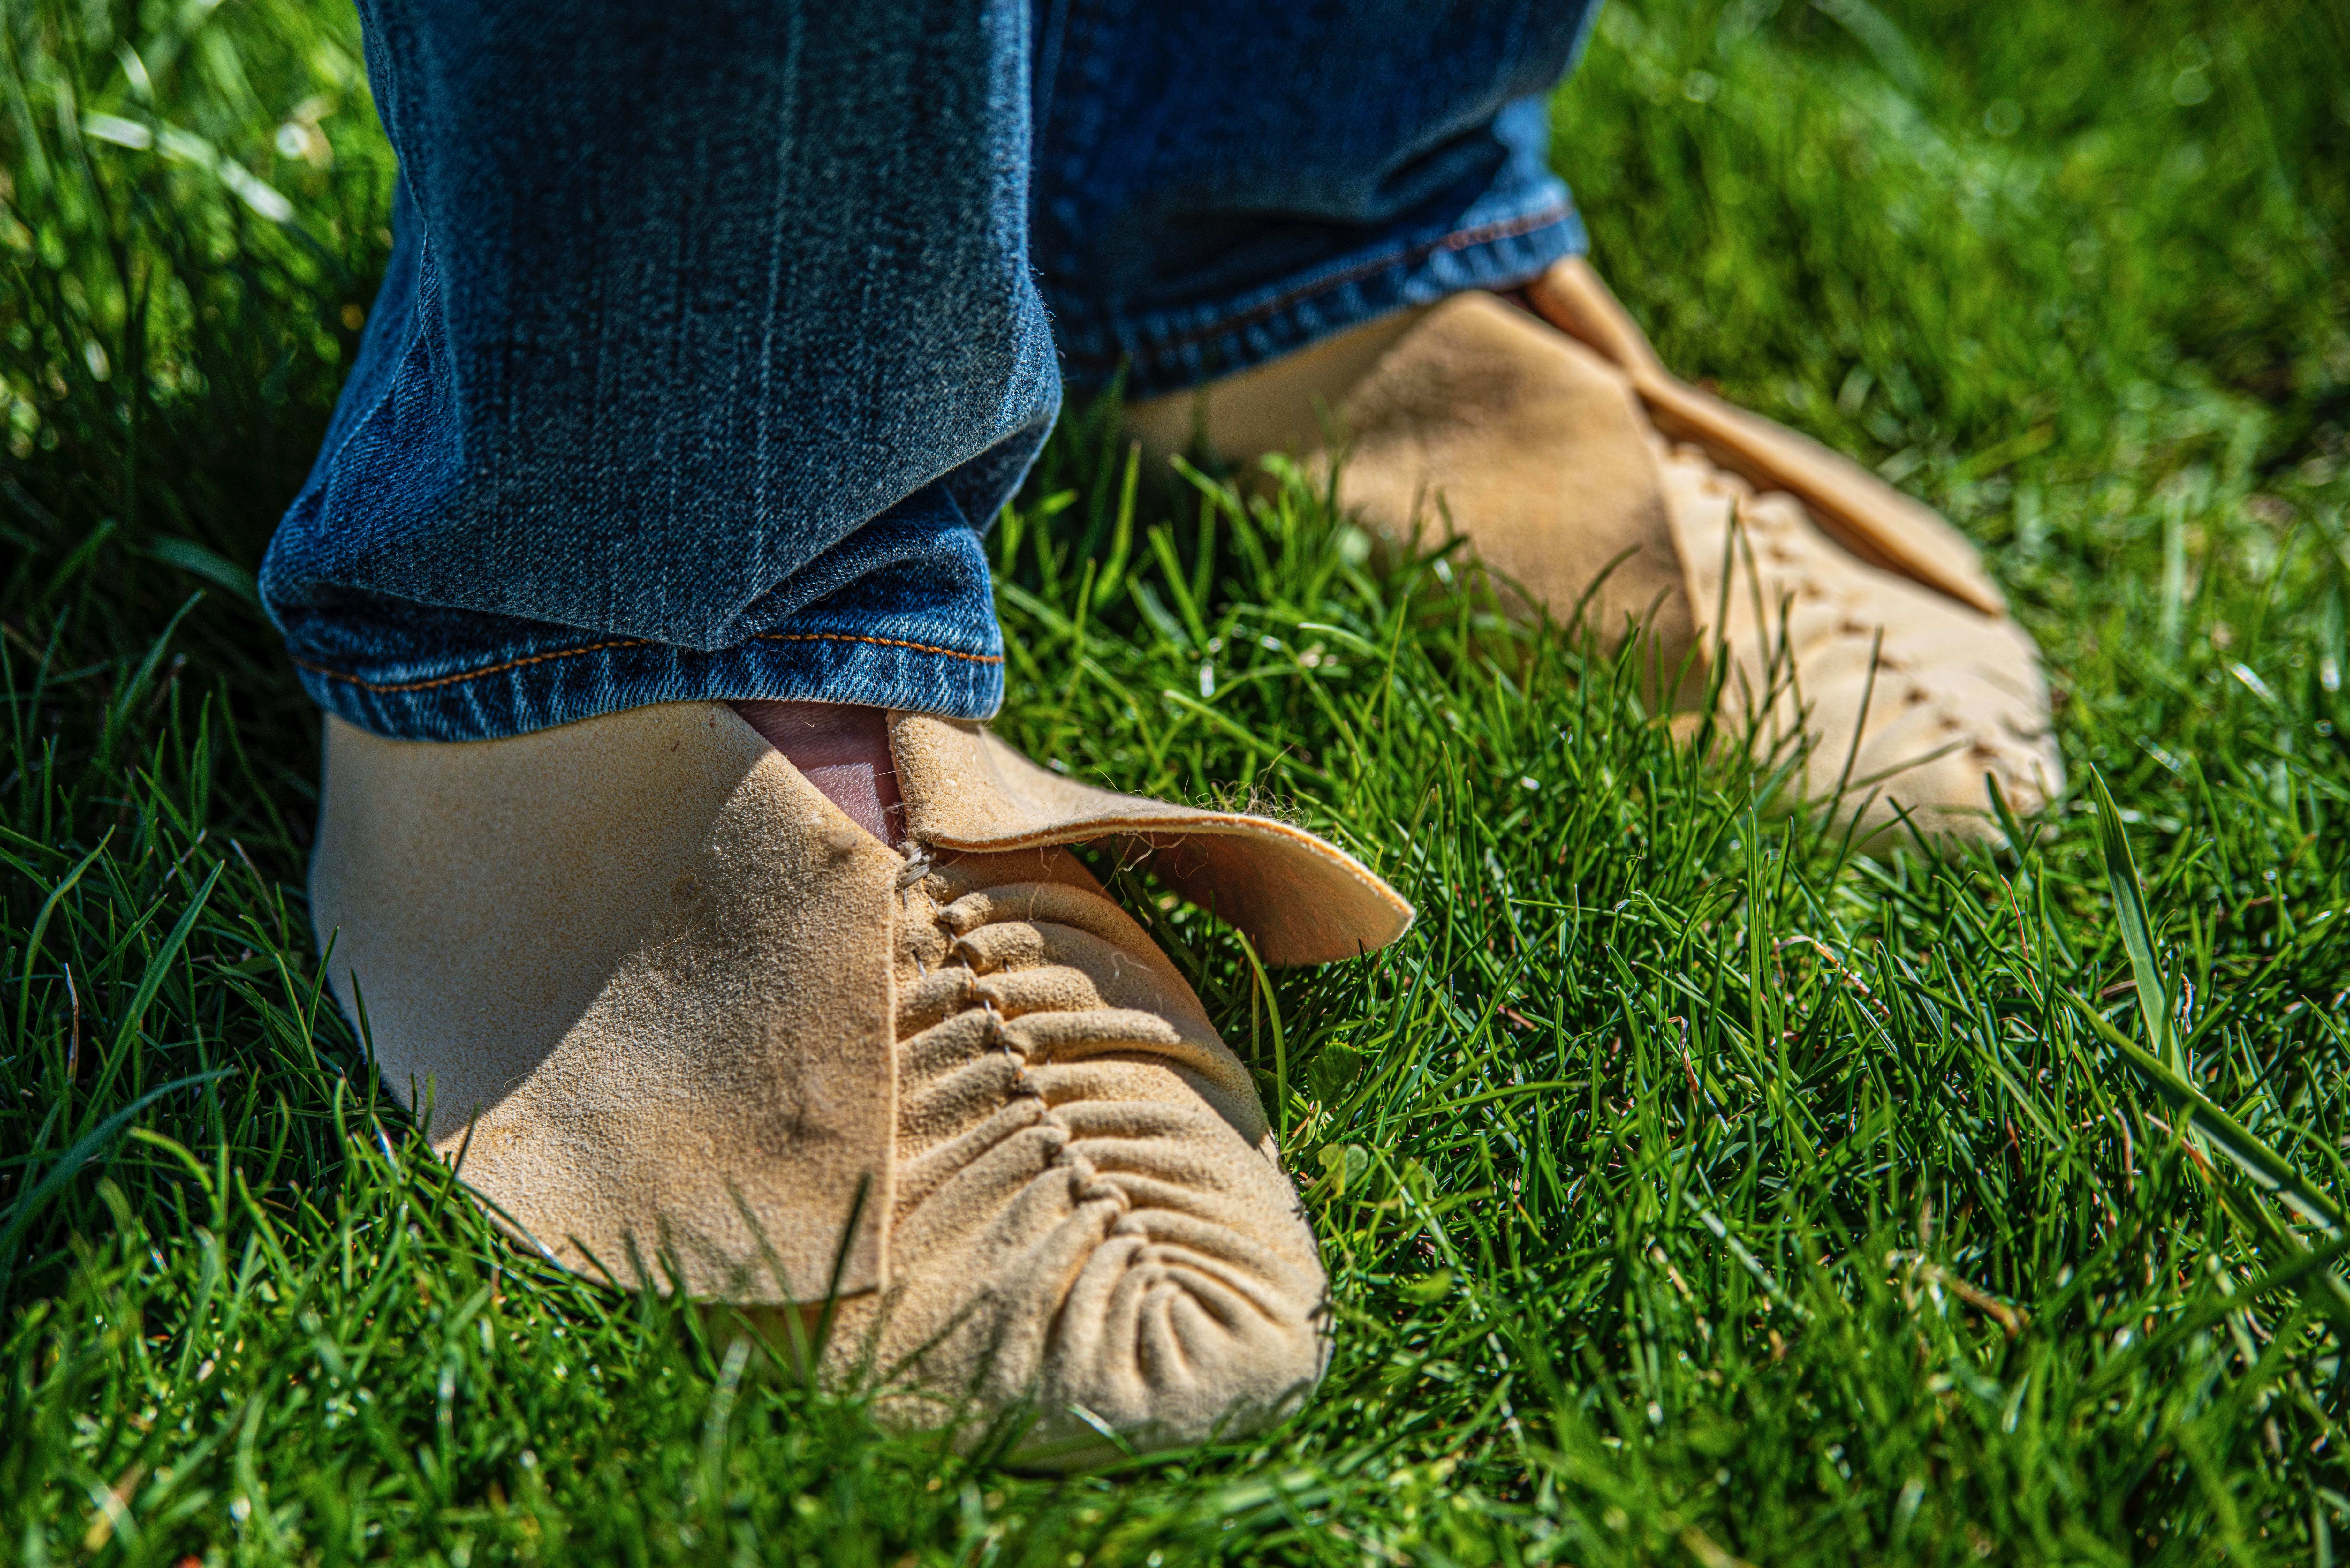
After student requests for an opportunity to learn to make Myaamia mahkisina, Myaamia Center staff, Myaamia Heritage Students, and community members gathered together for a two part workshop. The first thing I learned at the workshop was that Myaamia mahkisina use a center-seam pattern. My first moccasins definitely weren’t center-seam so I was excited to learn how to make my own mahkisina in the same style as my ancestors!
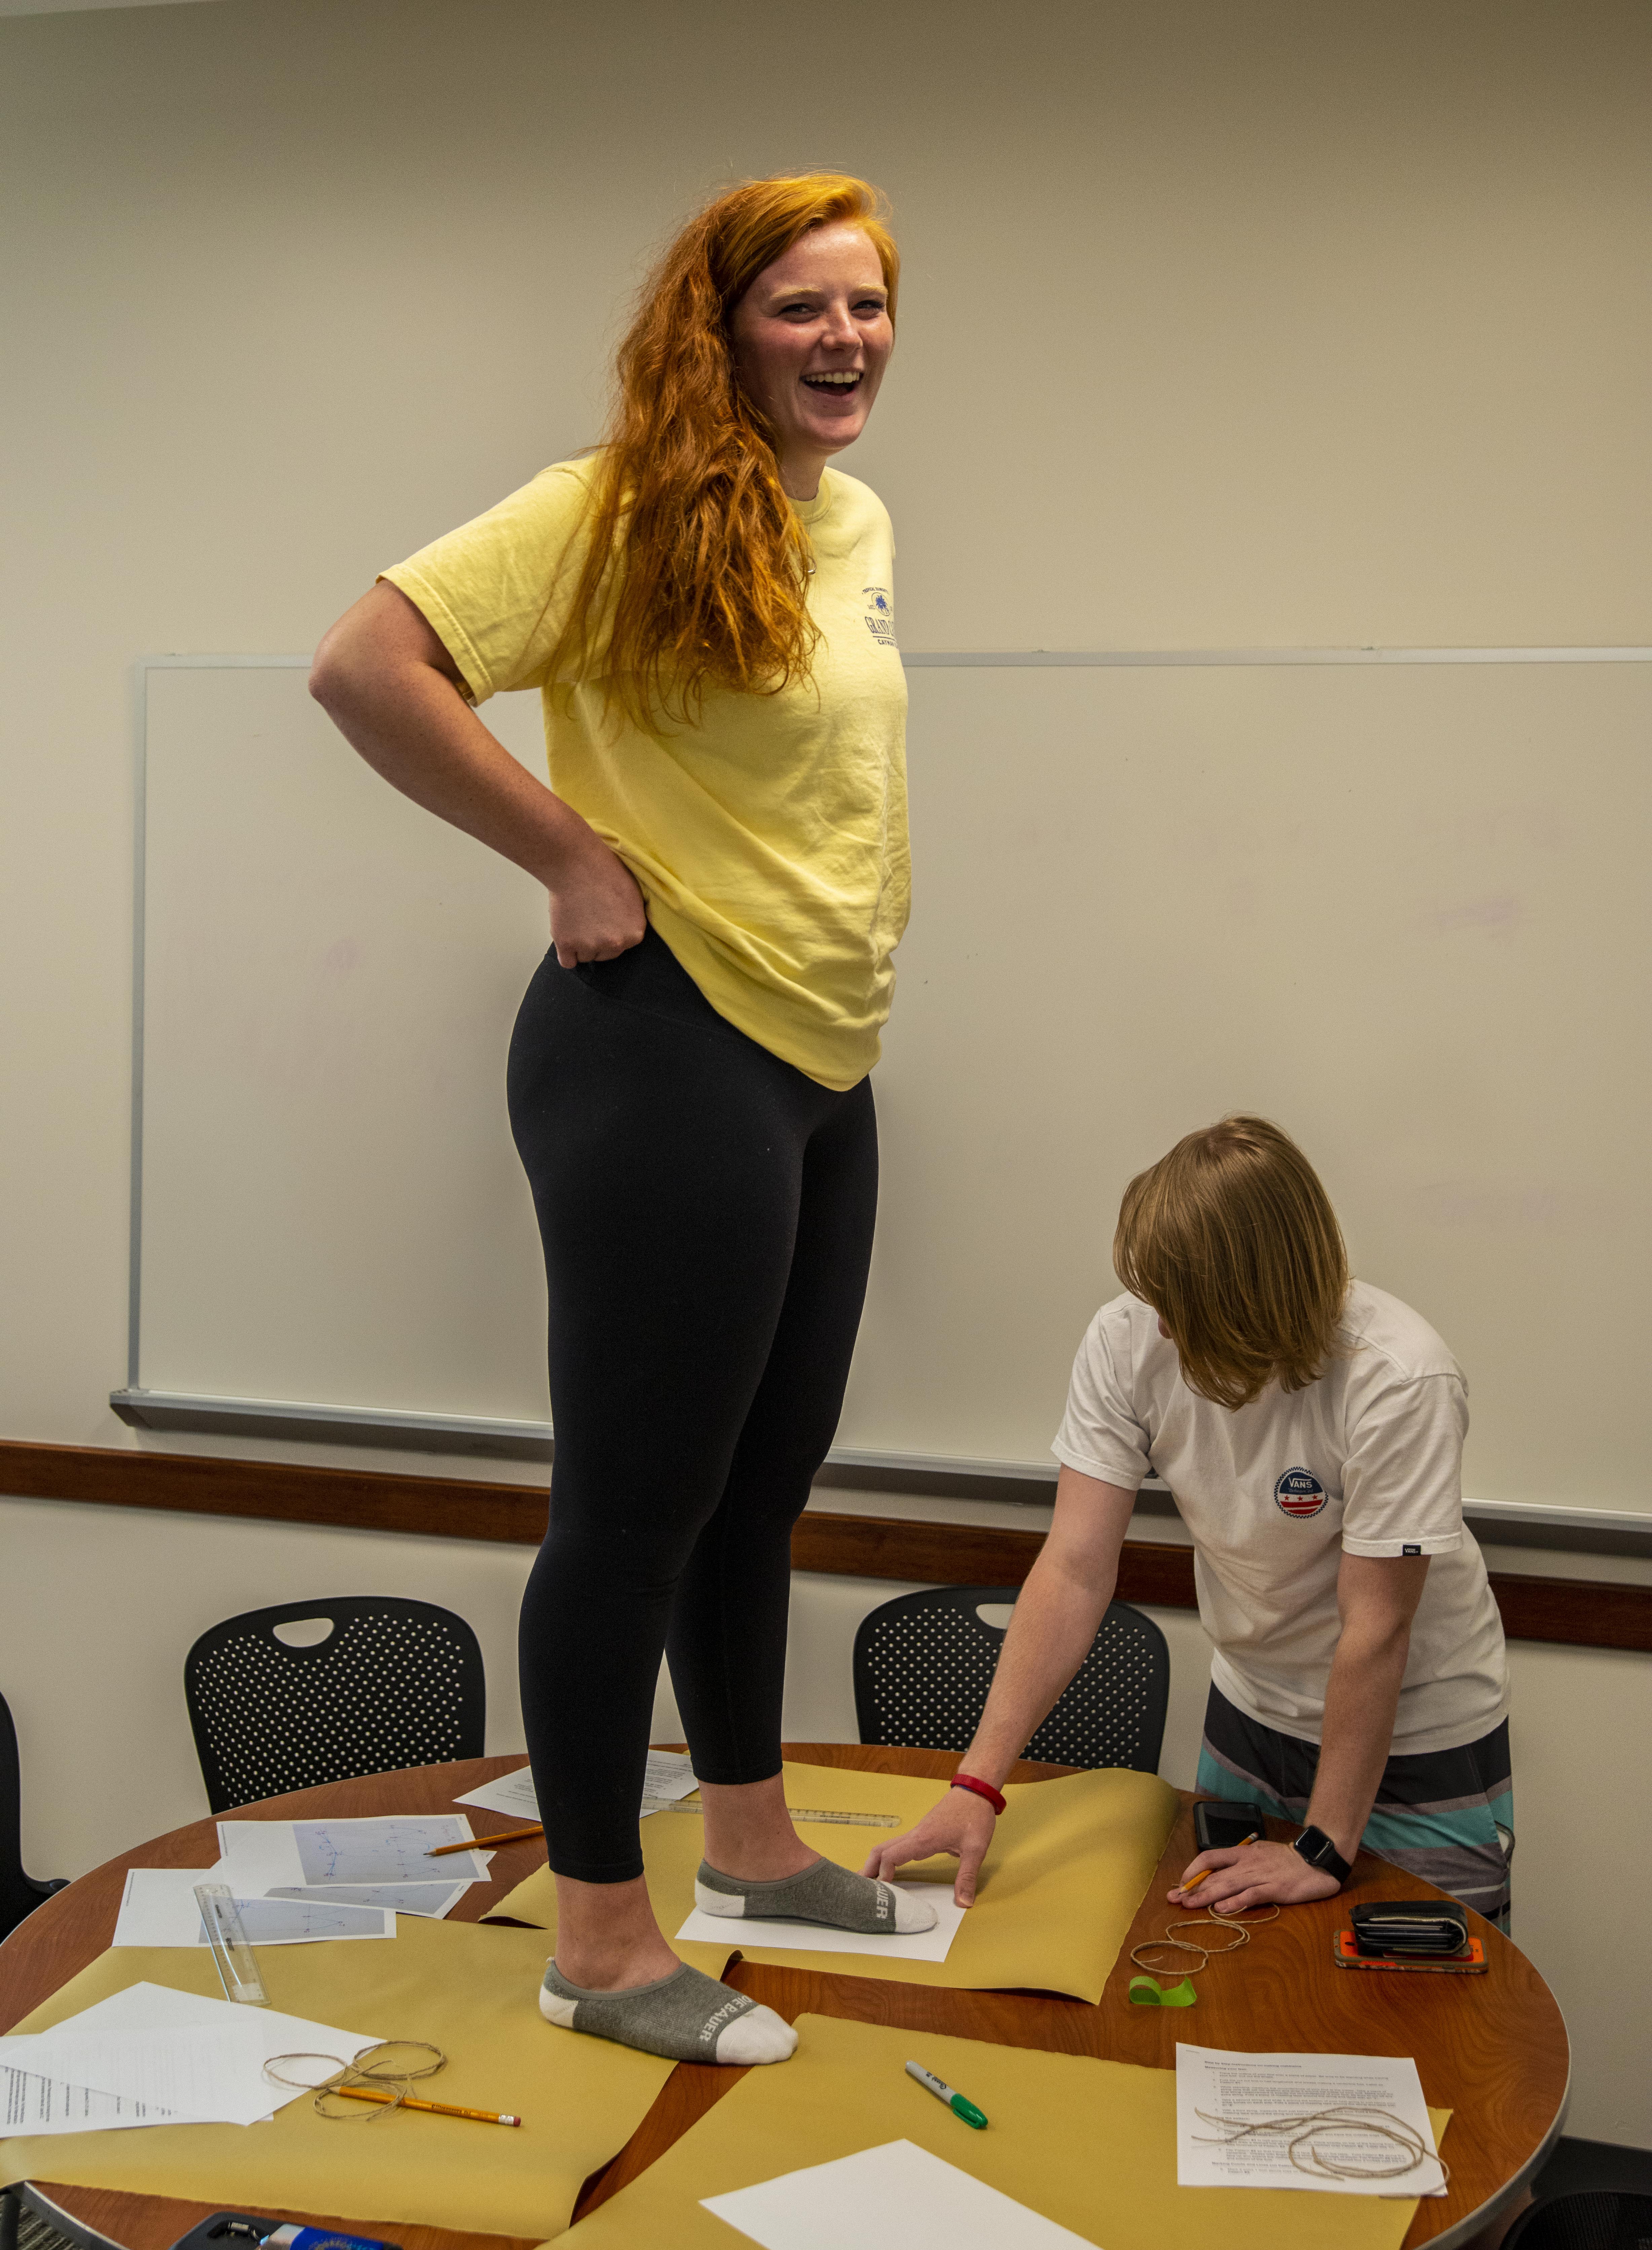
Each mahkisini is a single piece of hide that is cut based on an individual’s foot measurements. That means each person has to make their own pattern. Scott Shoemaker, a Myaamia citizen and knowledgeable artisan, walked us through the pattern making process. It was fun to find a partner or group and work together to trace and measure our feet for the patterns. And don’t worry, there was no funky foot odor!

The second part of the workshop is where the construction work happened. Over the course of the day, we learned how to sew, shape, and trim our mahkisina. This was pretty time consuming since the hide needs to be wet in order to set the puckers along the top of the foot. The hide then needs to be dry to move on to securing the puckers.

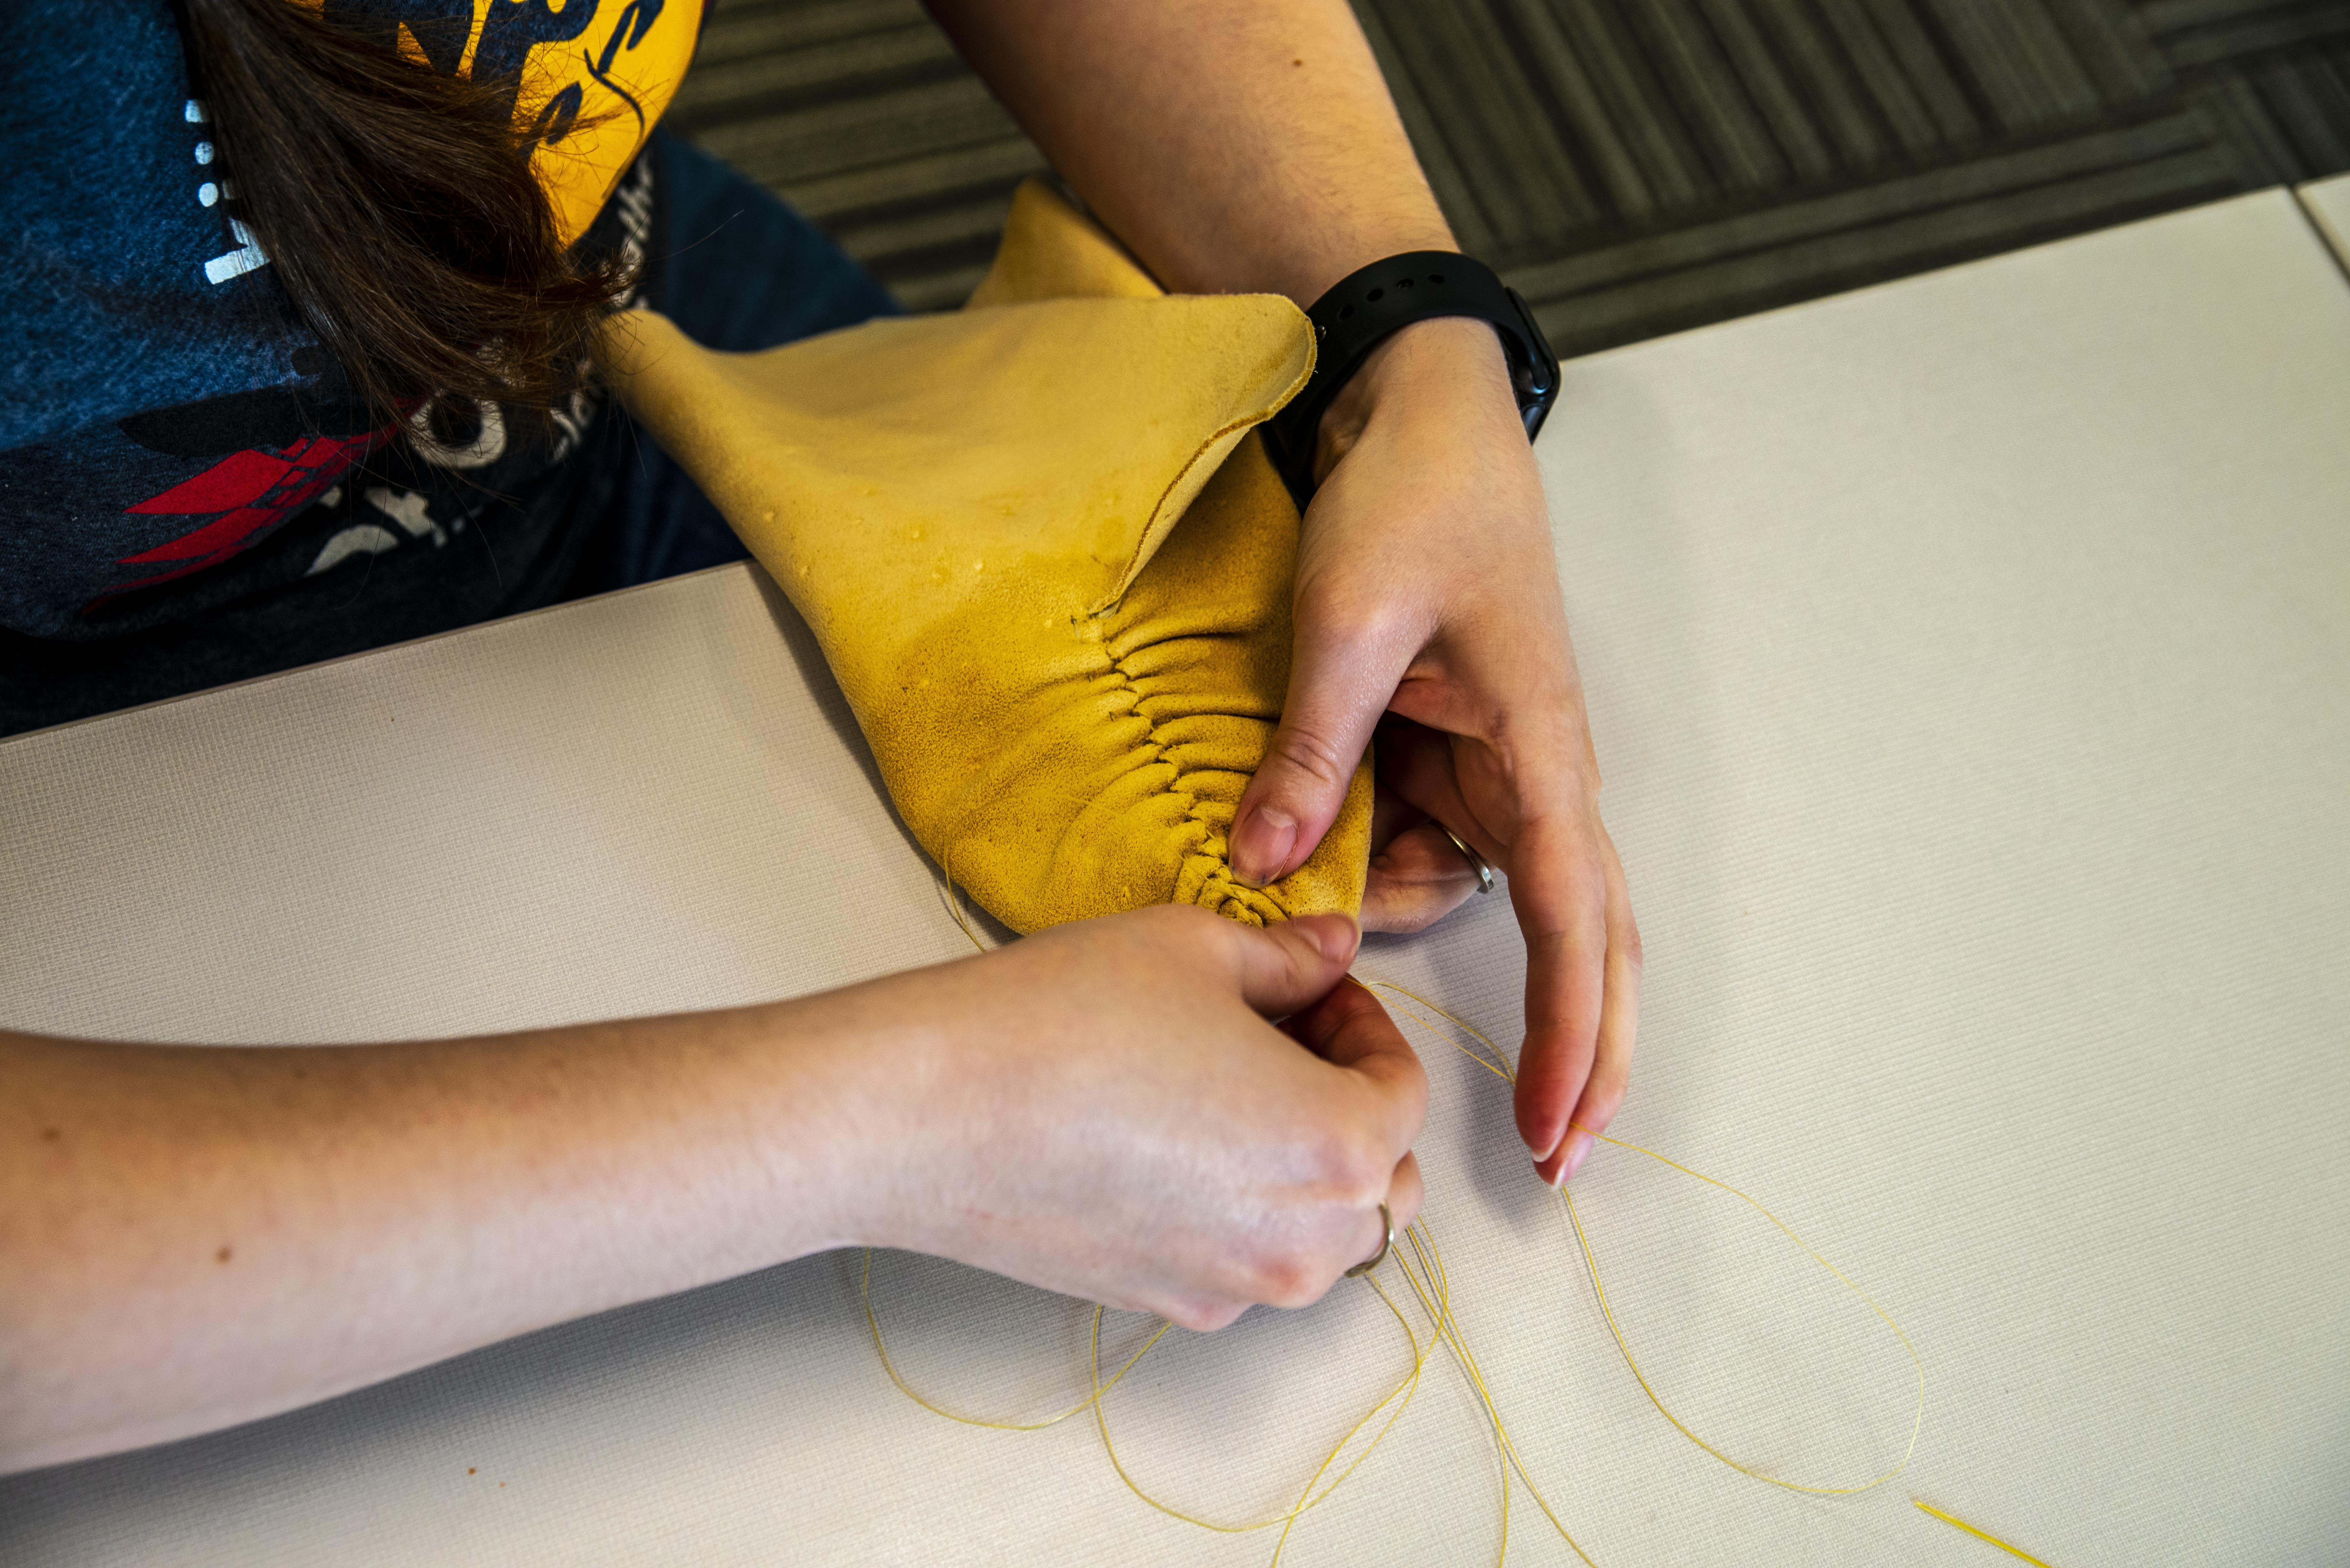
Much like with Myaamia ribbonwork, having previous experience with sewing by hand is an advantage but not a requirement. Scott and a couple of more experienced sewers helped us out so that most of us were able to finish both of our mahkisina. Unfortunately, we didn’t have time to work on decorating our mahkinisa flaps.
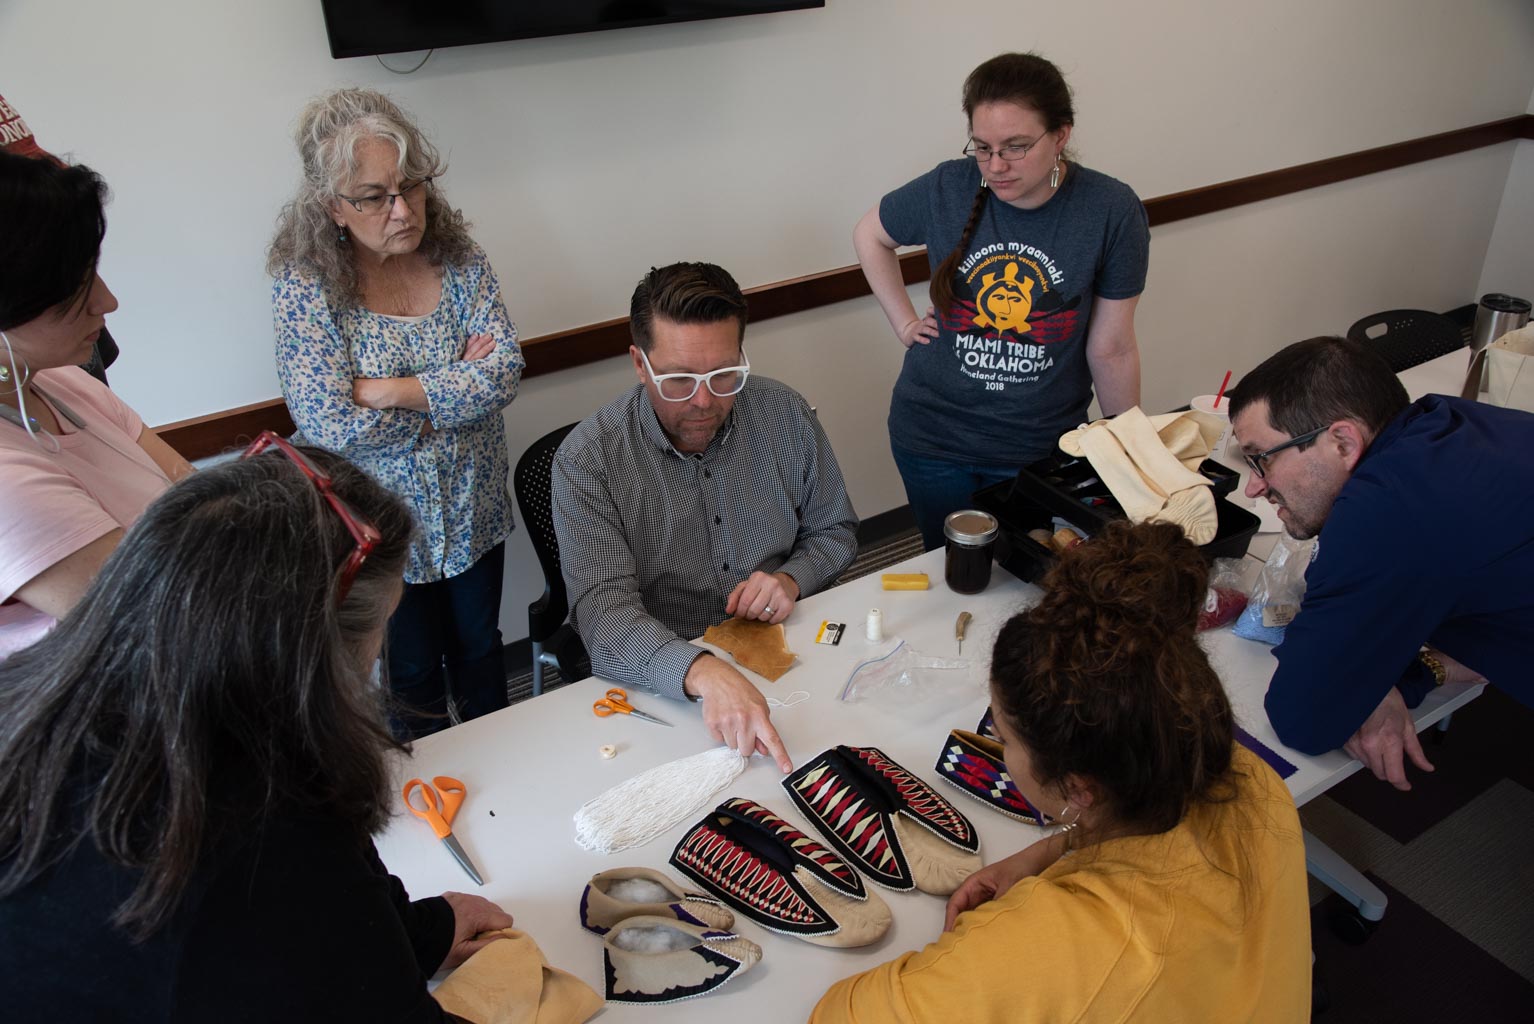
My mahkisina are still bare, but Mahkoonsihkwa did create ribbonwork for hers. If you are interested in creating your own pair of Myaamia Mahkisina, we have step-by-step directions available for download on Šaapohkaayoni and a YouTube playlist where Scott Shoemaker walks you through the construction steps. We also have several resources available to learn more about Myaamia Ribbonwork.

Leave a comment