
Written by Kayla Becker
This year, the Myaamia Heritage Class is focusing on ecological perspectives, or the way we view the land around us. My two favorite ways to spend my free time are hiking outdoors and baking in the kitchen, so I was extremely excited. I was eager to learn more about the plants our ancestors used, how they used them, and how I could incorporate these lessons into my life as well.
At the beginning of the semester, our class viewed different trees and shrubs on campus and discussed how to identify them. We also covered different uses for the plants. One tree we learned about was a pyaakimišaahkwi ‘persimmon tree.’ Persimmon berries, or pyaakimina, are the edible fruit that come from a pyaakimišaahkwi. They are orange in color and about the size of a plum. For the best flavor, it is ideal to harvest them when they are soft because they are sweeter. We learned that, typically, when the fruit falls to the ground, it is ripe.

The Myaamia Heritage Class used fresh, ripe pyaakimina harvested by Doug Peconge, Miami Tribe of Oklahoma Community Programming Manager. After removing the stems, we used cone and pestle food mills to collect the pulp and separate it from the skin and seeds. We did this by placing the persimmons into the cone and stirring the pestle in a circle around the cone. This squeezed the persimmon pulp out of the holes in the cone and into the bowl while leaving the skin and seeds inside the cone. We were given the opportunity to take some of the persimmon pulp home to use. I was excited to try using something my ancestors used when cooking, so I jumped on the opportunity.
My plan was to use the persimmon pulp to bake something to share with the class. I took some of my favorite recipes and adjusted them to have persimmon pulp. The pulp has a consistency somewhat similar to applesauce, so I knew I could substitute the persimmon pulp for a liquid in the recipe. I decided to replace only half of the butter with persimmon. It can also replace oil, water, or milk, but every ingredient does something in a recipe. Because the butter is more fatty than the persimmon pulp I did not want to replace the entire thing. By only replacing half of the butter it still allows the baked goods to be moist while providing you with the flavor of persimmon.
Provided are the two recipes I baked for class: Persimmon Cake with a Cinnamon Persimmon Cream Cheese Icing and Persimmon Blondies with a Persimmon Ganache. I hope you like these treats, but now that you know how to add persimmon to any recipe, you can transform any of your favorite recipes into a persimmon delight!
peehkisamooko! ‘Y’all cook well!’

Photo courtesy of Kayla Becker
Persimmon Blondies
Ingredients
- 3/4 cup melted butter
- 3/4 cup persimmon pulp
- 3 cups brown sugar
- 3 eggs
- 1/2 tsp. vanilla
- 2 1/2 cup all purpose flour
- 3/4 tsp. baking powder
- 3/4 tsp. salt
Instructions
- Preheat the oven to 350 degrees
- Spray or line a 9×13 baking pan
- In a large bowl, mix melted butter, persimmon pulp, and brown sugar
- Mix in eggs, one egg at a time
- Mix in vanilla
- In a separate bowl, whisk flour, baking powder, and salt
- Add the dry ingredients to the bowl of wet ingredients
- Mix well
- Pour batter into the prepared baking pan and smooth evenly into the pan
- Bake at 350 degrees until edges are golden and toothpick comes out clean from center
- Allow to cool completely before adding the ganache
Persimmon Ganache
Ingredients
- 1/3 cup persimmon pulp
- 1/3 cup heavy whipping cream
- 1 bag white chocolate chips (about 12 ounces)
Instructions
- In a small or medium pot, add heavy whipping cream and persimmon pulp
- Heat on the stove on a low setting, stirring continuously so it does not burn
- Once mixture begins to bubble, remove from heat and add white chocolate chips
- Whisk until smooth, this could take a little bit until the white chocolate chips are melted
- Allow the ganache to cool completely and start to thicken before pouring it over the pan of persimmon blondies
- Once the ganache is on the blondies, allow it to set up completely before cutting. This will take a few hours. You can put them in the fridge to help quicken the process.
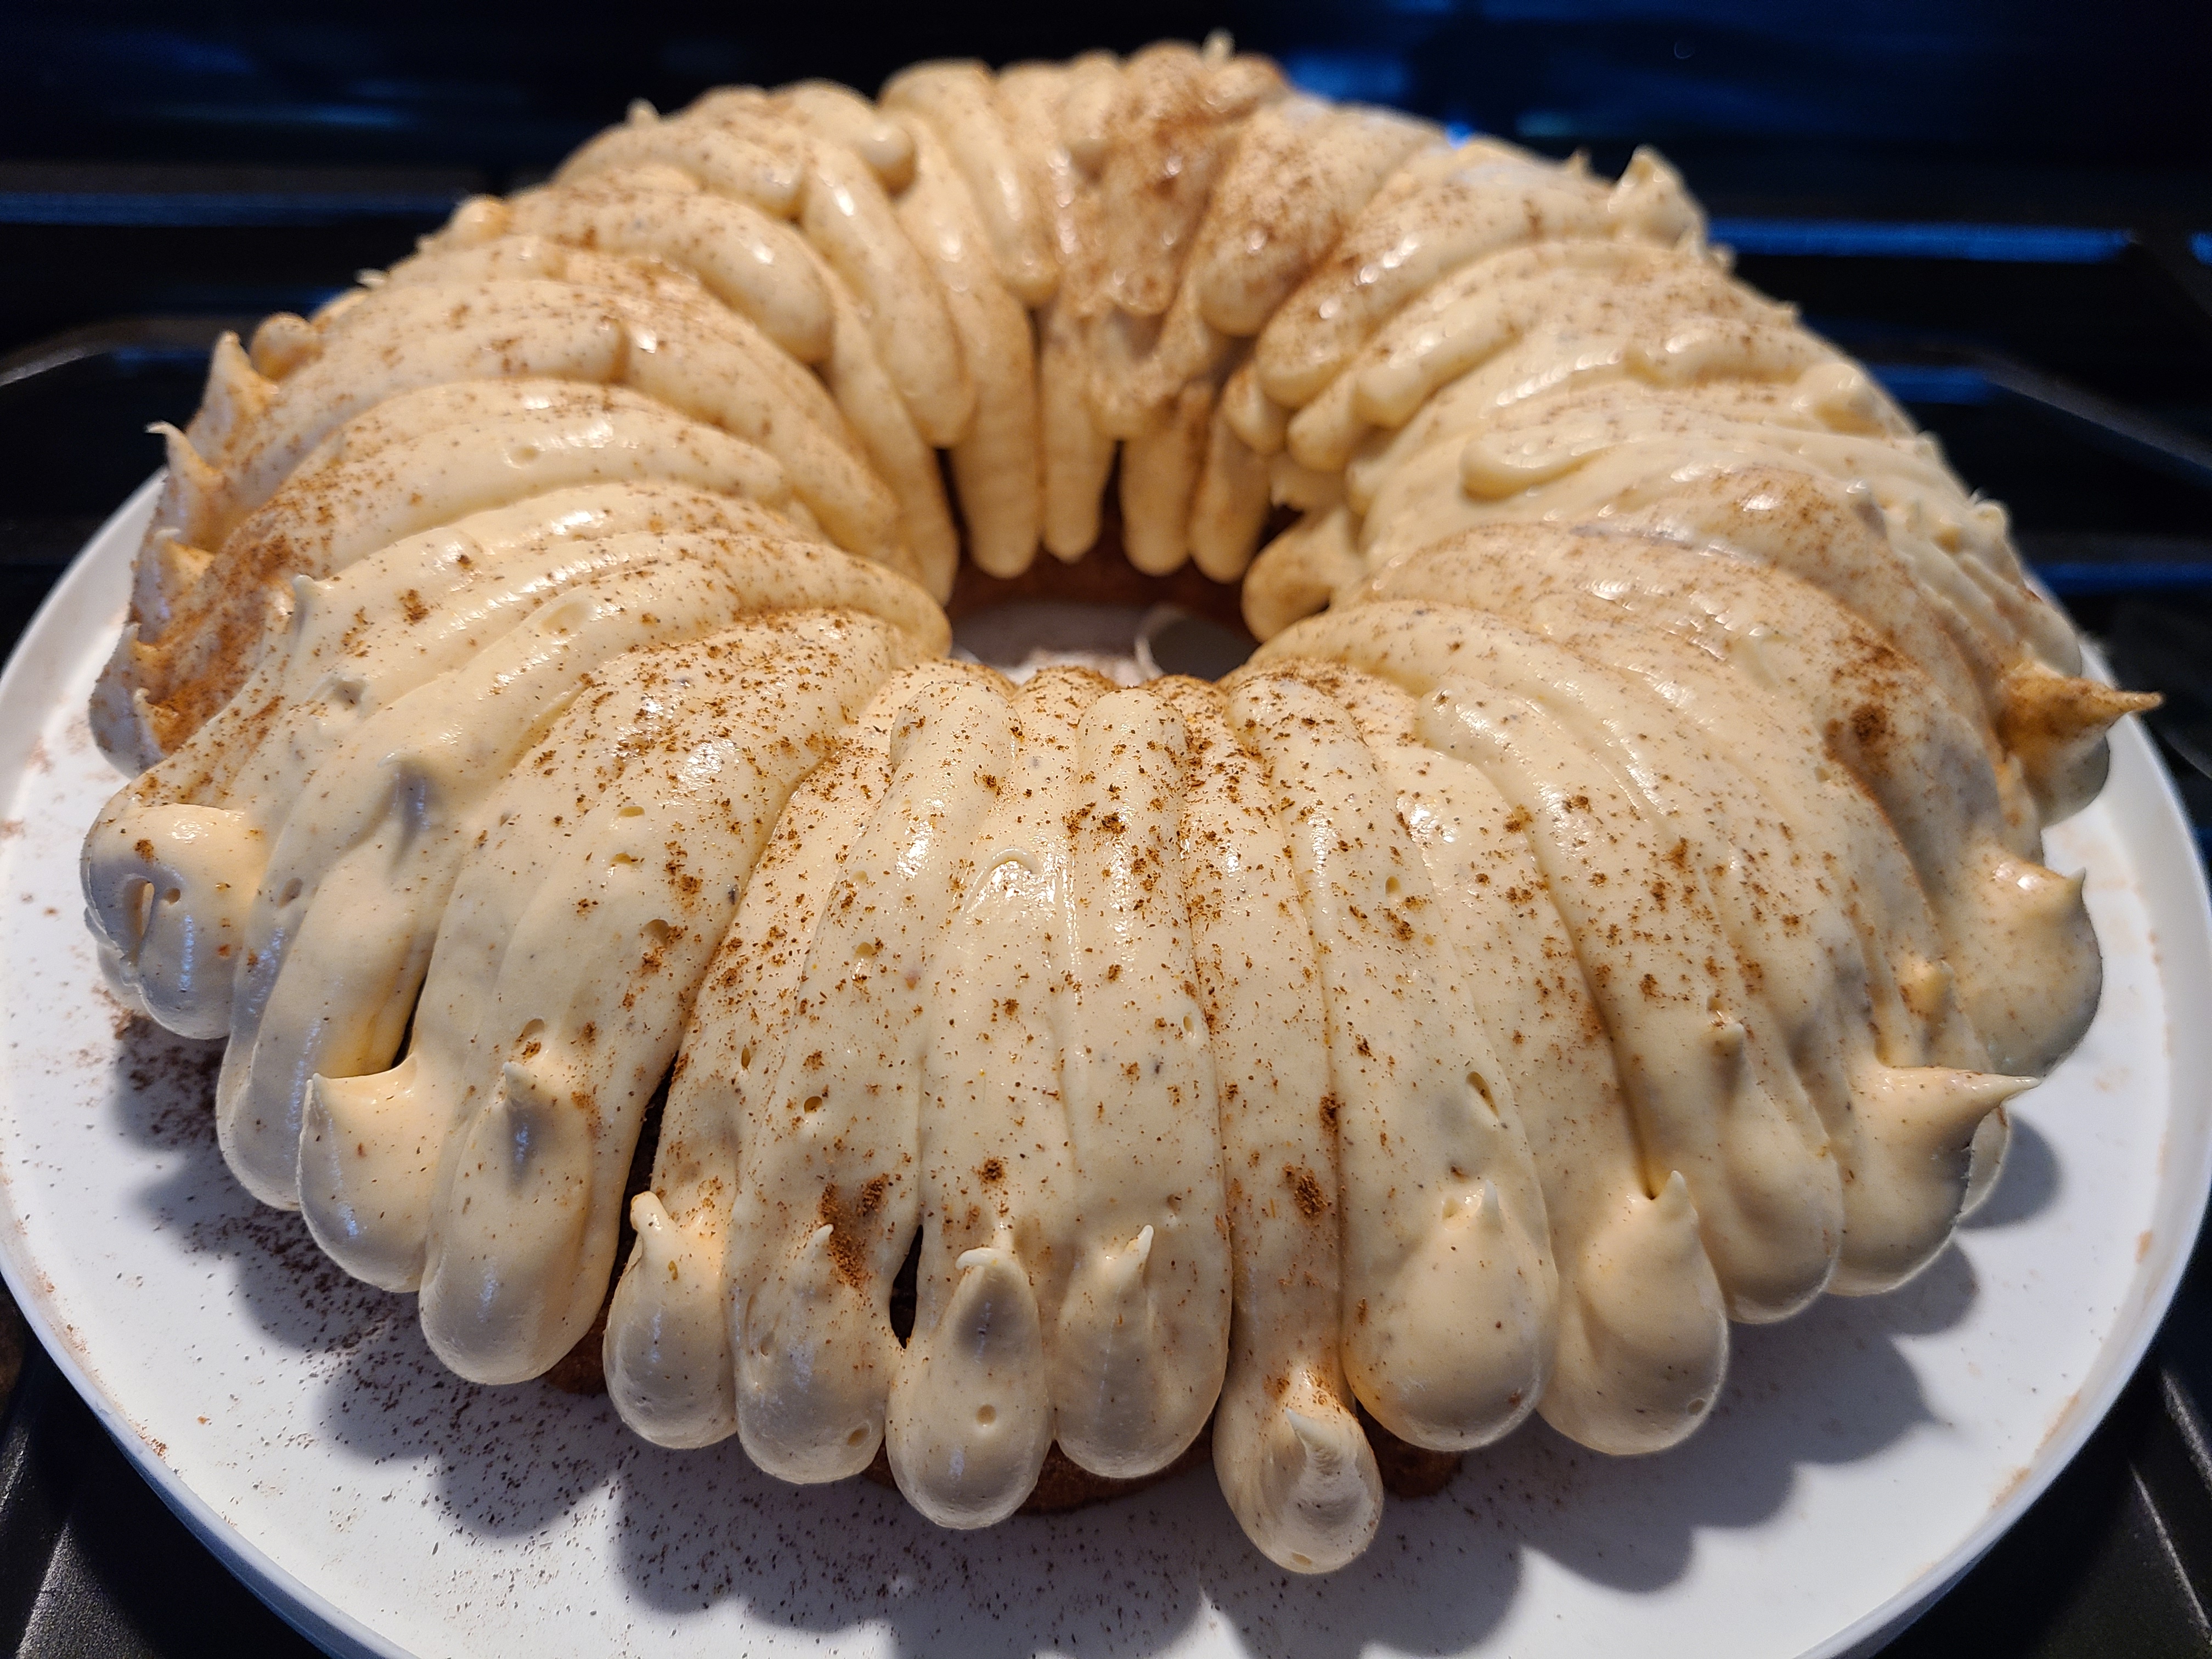
Photo courtesy of Kayla Becker
Persimmon Cake
Ingredients
- 1 2/3 cup sugar
- 3/4 cups butter, softened, not melted
- 1/2 cup persimmon pulp
- 3 eggs
- 1 tsp. vanilla
- 1/2 cup buttermilk
- 2 1/2 cups all purpose flour
- 2 1/4 tsp. baking powder
- 3/4 tsp. salt
Instructions
- Preheat the oven to 350 degrees
- Spray or butter cake pan, I used a bundt pan
- In a large bowl, cream together sugar and butter
- Mix in persimmon pulp
- Mix in eggs, one egg at a time
- Add vanilla and buttermilk, mix
- In a separate bowl, whisk together flour, baking powder, and salt
- Add the dry ingredients to the wet ingredients and mix
- Add cake batter to the prepared pan
- Bake at 350 degrees until edges start to pull away from the pan and a toothpick inserted in the center comes out clean. Try not to open the oven until you think it could be done or the center could drop.
- Allow to cool completely before adding icing
Cinnamon Persimmon Cream Cheese Icing
Ingredients
- 1 (8 oz) block of cream cheese, softened
- 1/4 cup butter softened, not melted
- 1/4 cup persimmon pulp
- 1 tsp. vanilla
- 4 cups powdered sugar
Instructions
- Using a mixer, cream together cream cheese and butter
- Mix in persimmon pulp and vanilla
- Gradually mix in enough powdered sugar to give you your desired icing consistency, roughly 4 cups
- Allow the cake to cool completely before adding the icing
- If you plan to pipe the icing onto the cake, you may want to double the recipe

Leave a comment